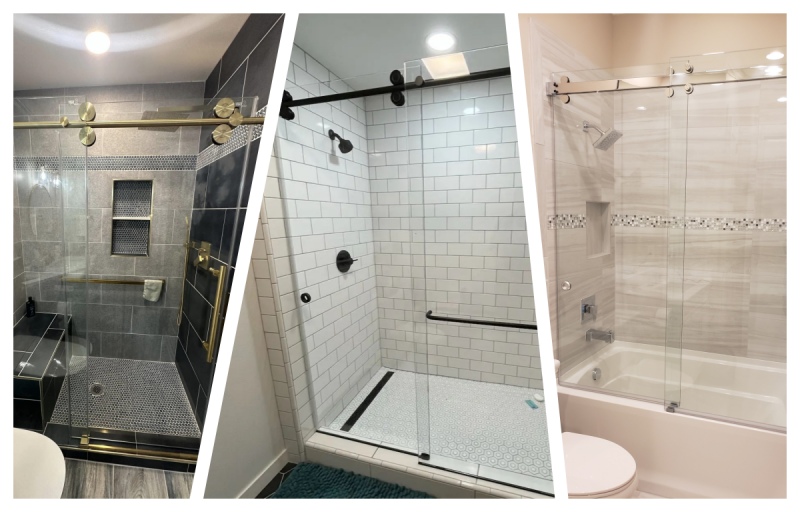
Installing a frameless sliding door hardware kit correctly ensures a smooth and long-lasting operation of your shower door. Whether you are upgrading your bathroom or installing a new shower sliding door fittings set, following a precise installation process is crucial. Today we will walk you through the steps required to properly install a sliding shower door kit, ensuring safety, functionality, and durability.

Tools and Materials Needed. Before starting the installation, gather the following tools and materials:
Drill and drill bits
Screwdriver
Measuring tape
Level
Pencil for marking
Allen wrench
Safety gloves and goggles
Sliding shower door kit, including eccentric wheel, pipe clamp, security nail, pipe sleeve, stopper, floor guide, hidden handle, and guide rail
Step 1: Prepare the Installation Area
Ensure the shower walls and floor are clean and dry.
Measure and mark the installation points using a level and measuring tape.
Double-check the dimensions of the shower opening to ensure compatibility with the frameless sliding door hardware.
Step 2: Install the Guide Rail
Position the guide rail at the top of the shower opening.
Use a drill to secure it in place with the provided screws and security nails.
Check alignment using a level to ensure the rail is straight.
Step 3: Attach the Rollers and Pipe Clamps
Install the eccentric wheels onto the glass door according to the manufacturer’s instructions.
Secure the pipe clamps onto the top edge of the glass panel, ensuring a firm grip.
Tighten screws carefully to avoid damaging the glass.
Step 4: Mount the Glass Door
Carefully lift the glass door and align the eccentric wheels with the guide rail.
Slide the door into place, ensuring smooth movement along the track.
Make adjustments as needed to achieve proper alignment.
Step 5: Install Floor Guide and Stoppers
Position the floor guide at the bottom to prevent excessive movement and ensure stability.
Secure the stoppers on both ends of the guide rail to control door movement and prevent accidental dislodging.
Step 6: Attach the Hidden Handle and Pipe Sleeve
Install the hidden handle on the glass door for easy operation.
Secure the pipe sleeve to ensure all fittings are properly connected and stabilized.
Double-check all screws and fittings to ensure tightness and security.
Step 7: Final Adjustments and Testing
Slide the door back and forth to ensure smooth operation.
Tighten any loose fittings and make necessary alignment adjustments.
Clean the glass and hardware to remove dust and fingerprints.

Conclusion, by following this professional step-by-step guide, you can successfully install a shower sliding door fittings kit for a seamless and functional shower door. Proper installation ensures durability, smooth operation, and safety. Investing in high-quality frameless sliding door hardware enhances your bathroom’s aesthetics and usability. If you need premium glass hardware components, SVA 22+ years of manufacturing experience guarantee top-tier products for all your sliding door needs. Welcome to contact with our sales team.


